Yoast SEO settings: Media pages
In this article, we’ll discuss the Media pages settings in Yoast SEO in your WordPress backend.
Where to find the Media pages settings
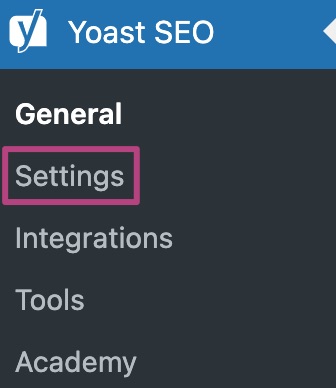
- In your WordPress Dashboard, go to Yoast SEO

- Go to Settings

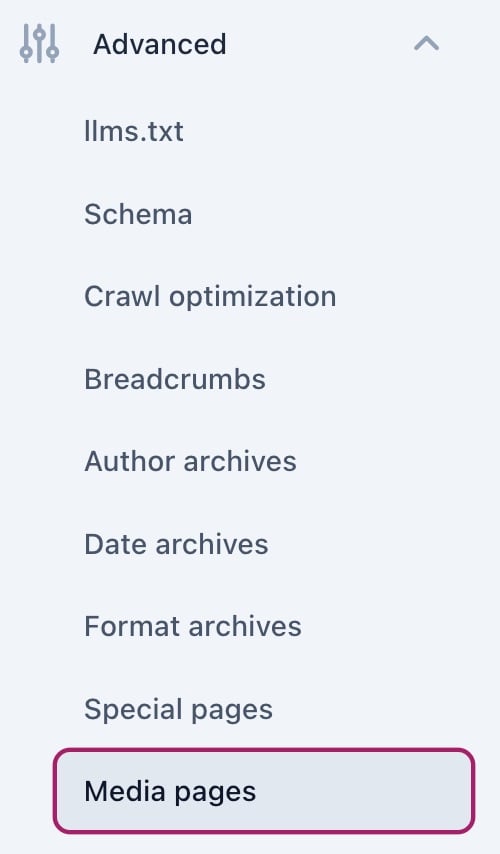
- Under Advanced, go to Media pages

Attachment URLs
The Media pages section exists for one solid reason: attachment URLs. When you upload an image to WordPress, that image gets a URL that becomes available. WordPress also automatically generates a new web page, containing only that image: a so-called attachment URL.
These attachment URLs are not useful in 99.5% of the settings, because Google may index these pages and regard them as low-quality content since they only contain a single image. In addition, if users find these pages, they may leave your site because they only find a single image, leading to a higher bounce rate. Because these attachment URLs are not useful, we disable the media pages by default. This setting redirects these attachment URLs to the image itself.

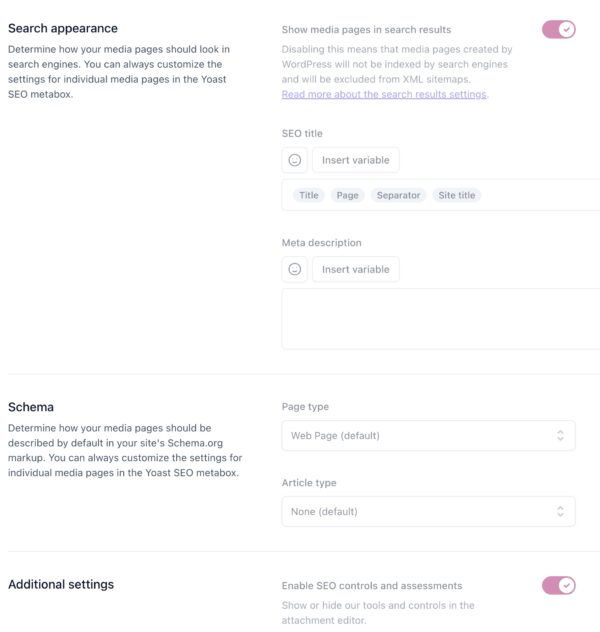
If you do use these attachment URLs, for example for a photography site or image bank, you can manually enable media pages. Simply switch the Enable media pages toggle to On. When you enable media pages, you can determine how media pages appear in search results, what Schema is used, and if you want to enable the SEO controls and assessments.


