How to redirect attachment URLs to the media itself
Let’s say you upload an image called image.png. WordPress uses the permalink structure to create a URL of https://example.com/image/, for example. This page displays your theme header, sidebar, and footer with the embedded image. In most cases, you or your developer have not customized this page so it has little to no SEO value due to its thin content. For that reason, we recommend redirecting the URL to the actual image. In this article, we’ll explain how you can disable media pages with Yoast SEO and redirect attachment URLs.
How to redirect attachment URLs to the actual image using Yoast SEO
Attachments to posts are stored in the database as posts, this means they’re accessible under their own URLs. Disabling media pages will cause all attachment URLs to redirect to the media itself. Follow the steps below to disable media pages with Yoast SEO.
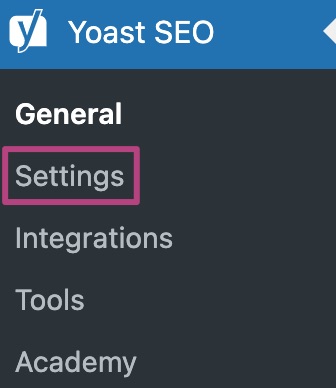
- In your WordPress Dashboard, go to Yoast SEO

- Go to Settings

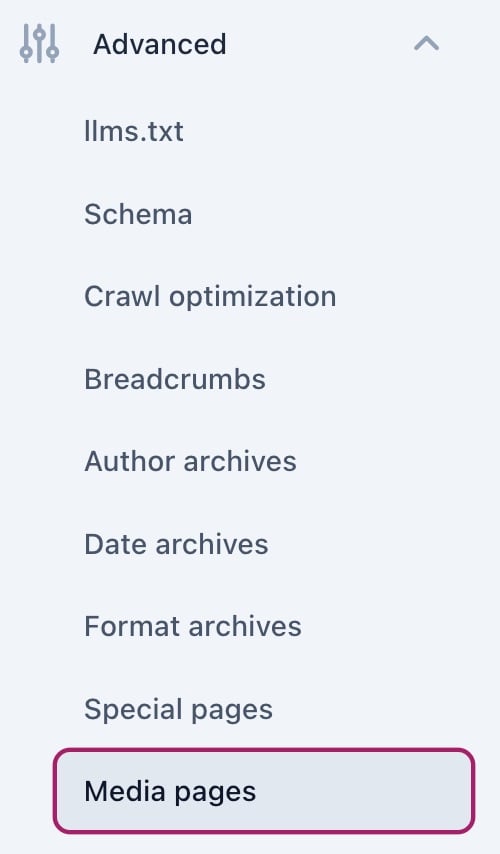
- Under Advanced, go to Media pages

- Toggle the Enable media pages switch off
If media pages are disabled, the toggle will show a gray crossmark. If media pages are enabled, the toggle will show a checkmark.

Redirect attachment URLs to a post or page
Versions earlier than Yoast SEO 7.0 offered the option to redirect to a post or page. This method, however, was not always reliable and caused a lot of issues, especially when an image was added to multiple parts of your site. Therefore, the option was updated to redirect to the actual image.

