How to add your website to Bing Webmaster Tools
Yoast SEO allows you to connect your site to Bing Webmaster Tools. By connecting your website to Bing Webmaster Tools, you will be able to track how Bing is crawling your website. In this article, we’ll walk you through the steps of connecting your website to Bing Webmaster Tools.
How to add your site to Bing Webmaster Tools with Yoast SEO
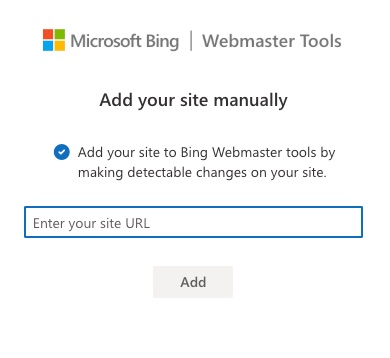
- Go to Bing Webmaster Tools and create an account
- Under Enter your site URL, fill in your URL and click Add
Did you already verify your site on Google Search Console? Skip the Yoast SEO verification and leave the input field blank.
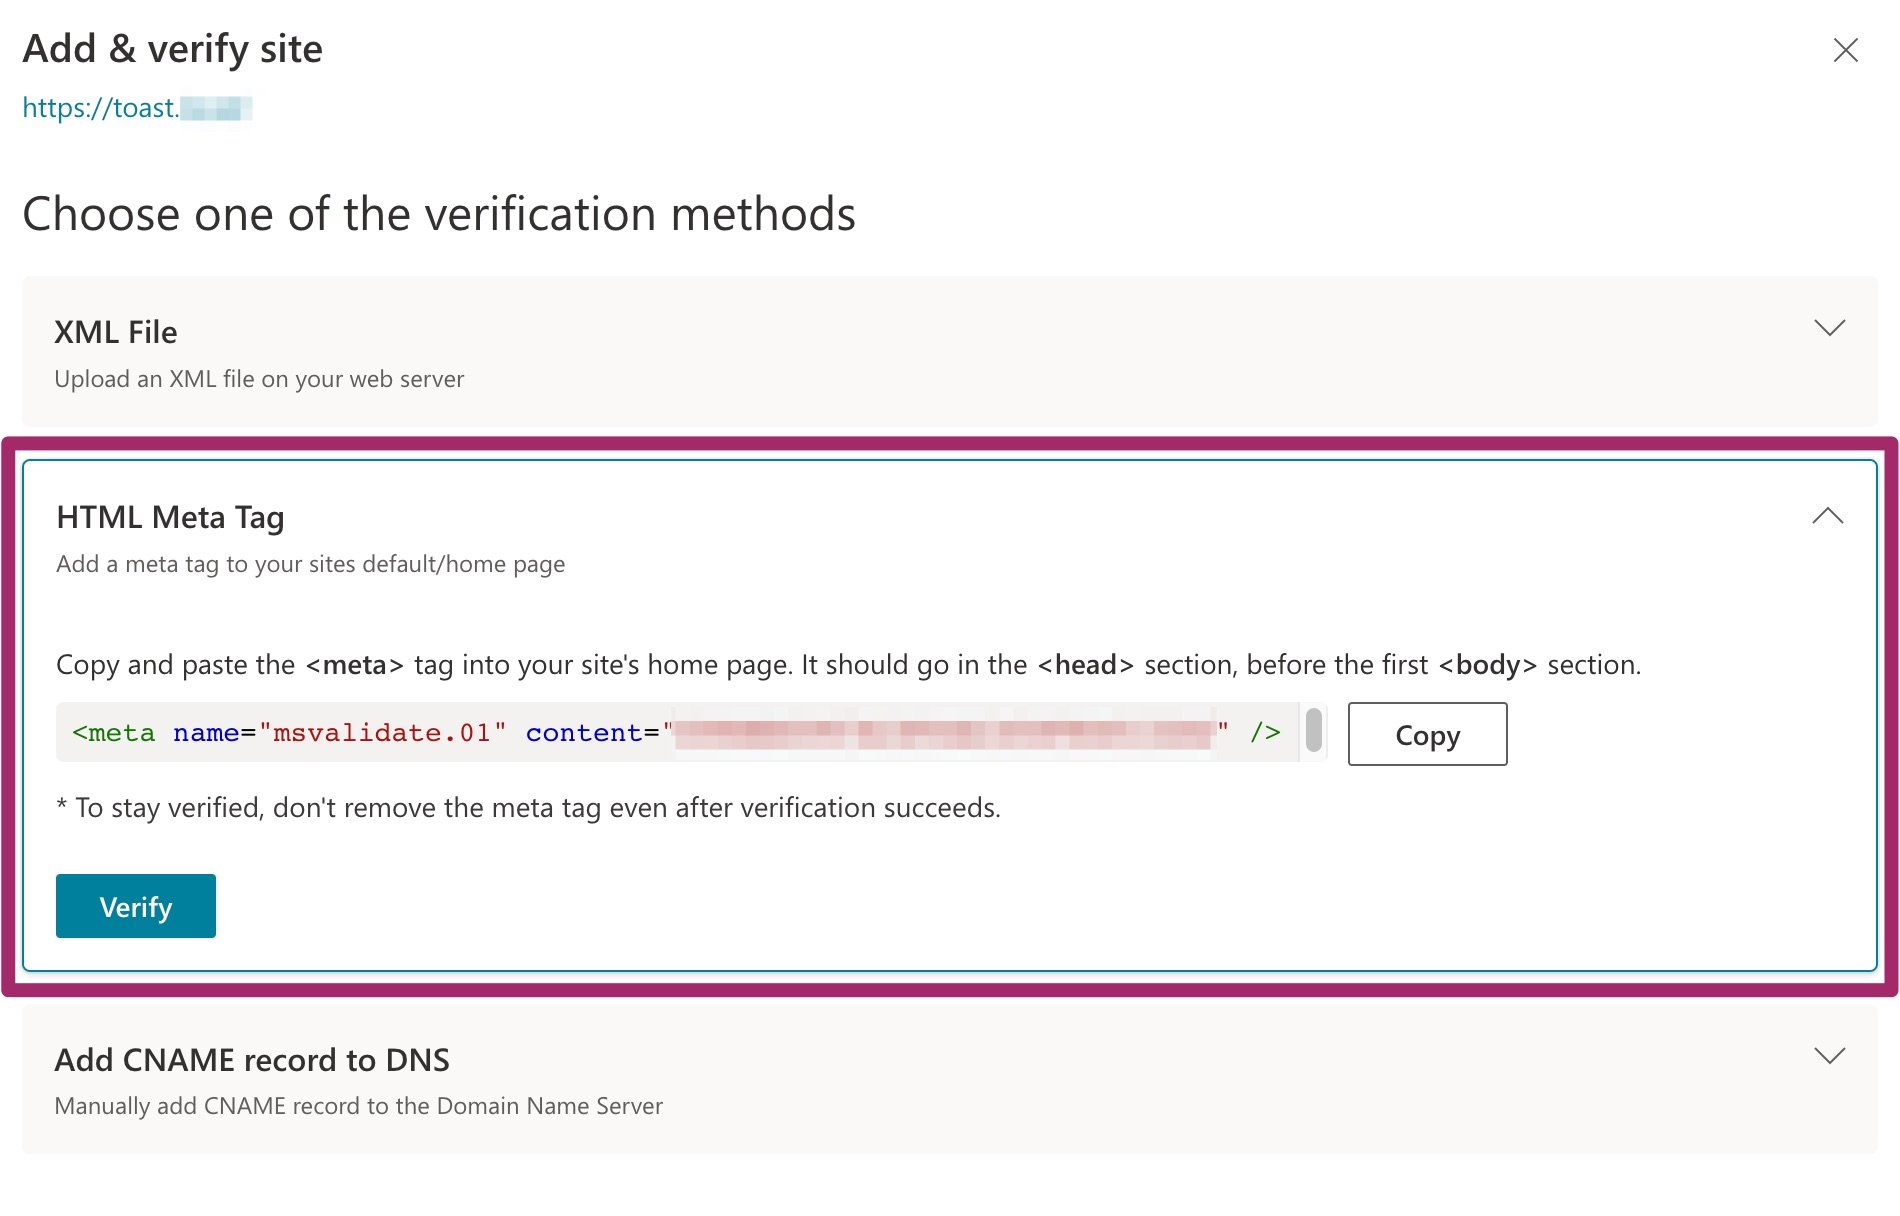
- Select the option HTML Meta Tag and click Copy
- Log in to your WordPress website
- Go to Yoast SEO

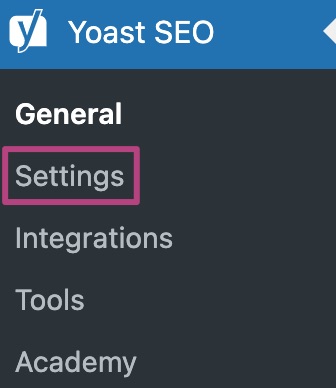
- Go to Settings
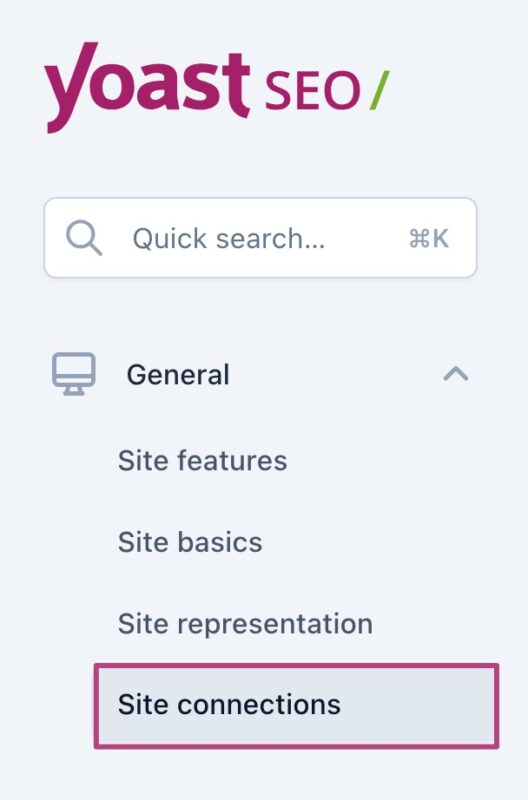
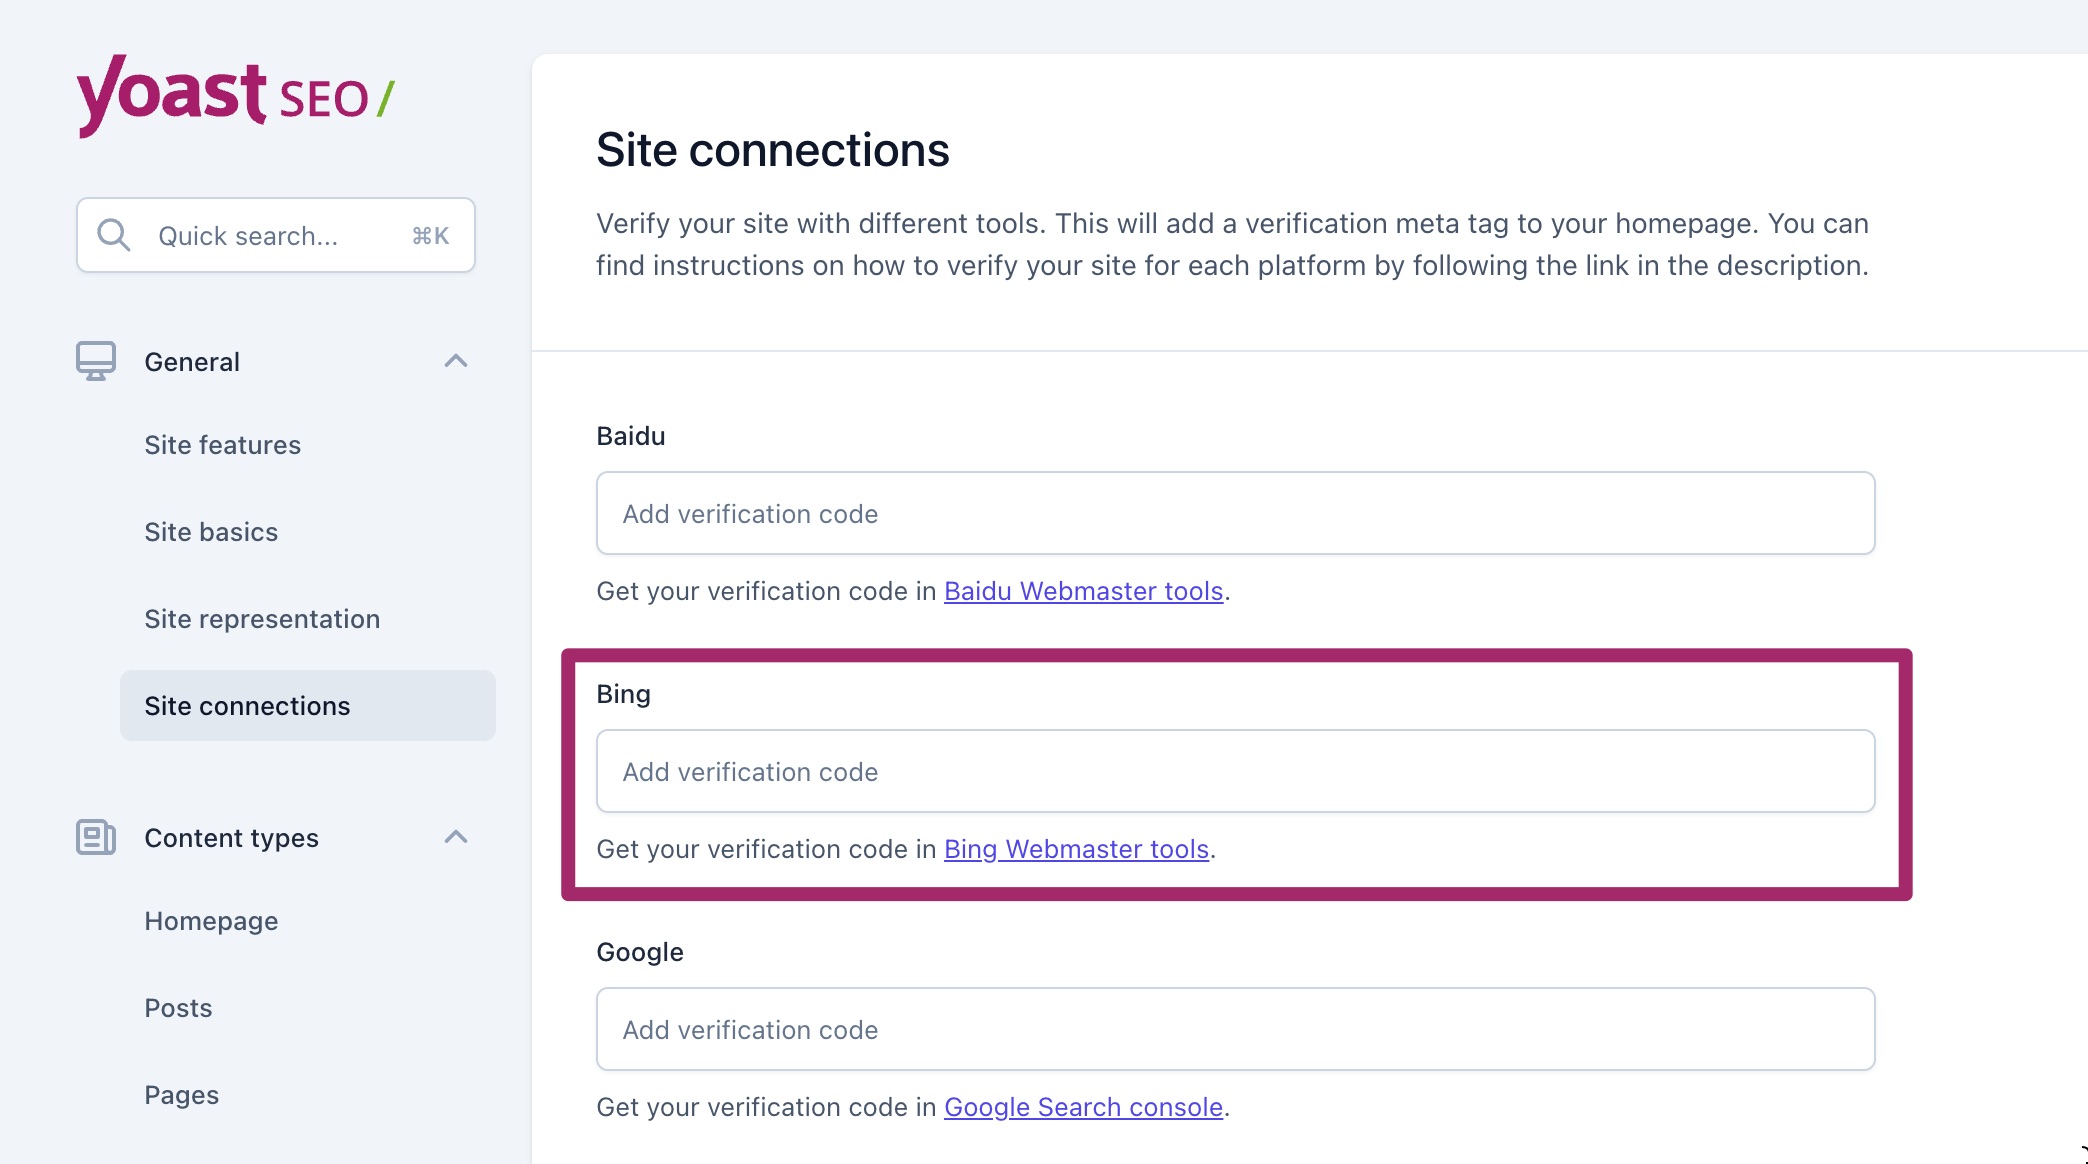
- Go to Site connections
- Add the code under Bing
Paste the code you just copied in the input field below Bing.
- Click Save changes

- Return to Bing Webmaster Tools and click Verify

- You’ve now added your site to Bing Webmaster tools
Your sitemap will most likely show up as pending and will be crawled shortly. This may take a few hours to a few days
Did this article answer your question?
Thanks for your feedback!

