How to add Brand, Manufacturer, Color, Pattern, and Material attributes to your WooCommerce products
The Yoast WooCommerce SEO plugin automatically adds brand, manufacturer, color, pattern and material Product Schema properties to your product pages. If you don’t add these attributes, you may receive the error “missing field brand” in Google Search console.
To fix the error “missing field brand” and to ensure your products stand out in search engine results, we explain in this article how you can add brand, manufacturer, color, pattern and material attributes to your WooCommerce products.
How to create product attributes in WooCommerce
Follow the steps below to create brand, manufacturer, color, pattern and material attributes and add them to your WooCommerce product. Yoast WooCommerce SEO will automatically output the correct Schema and fix the “missing field brand” error.
In this example, we add the brand attribute. But, you can follow the same steps to add the manufacturer, color, pattern and material attributes as well.
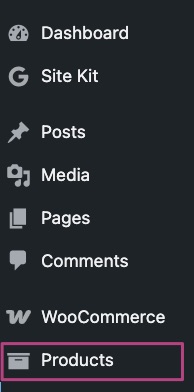
- In your WordPress Dashboard, go to Products
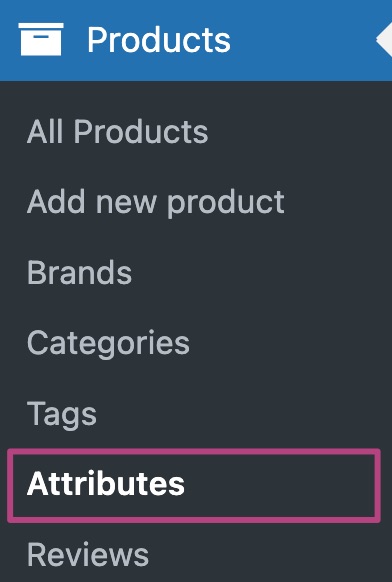
- Go to Attributes
- Add the Name, Slug and click Add attribute
In this example, we use Brand.

- Click Configure terms

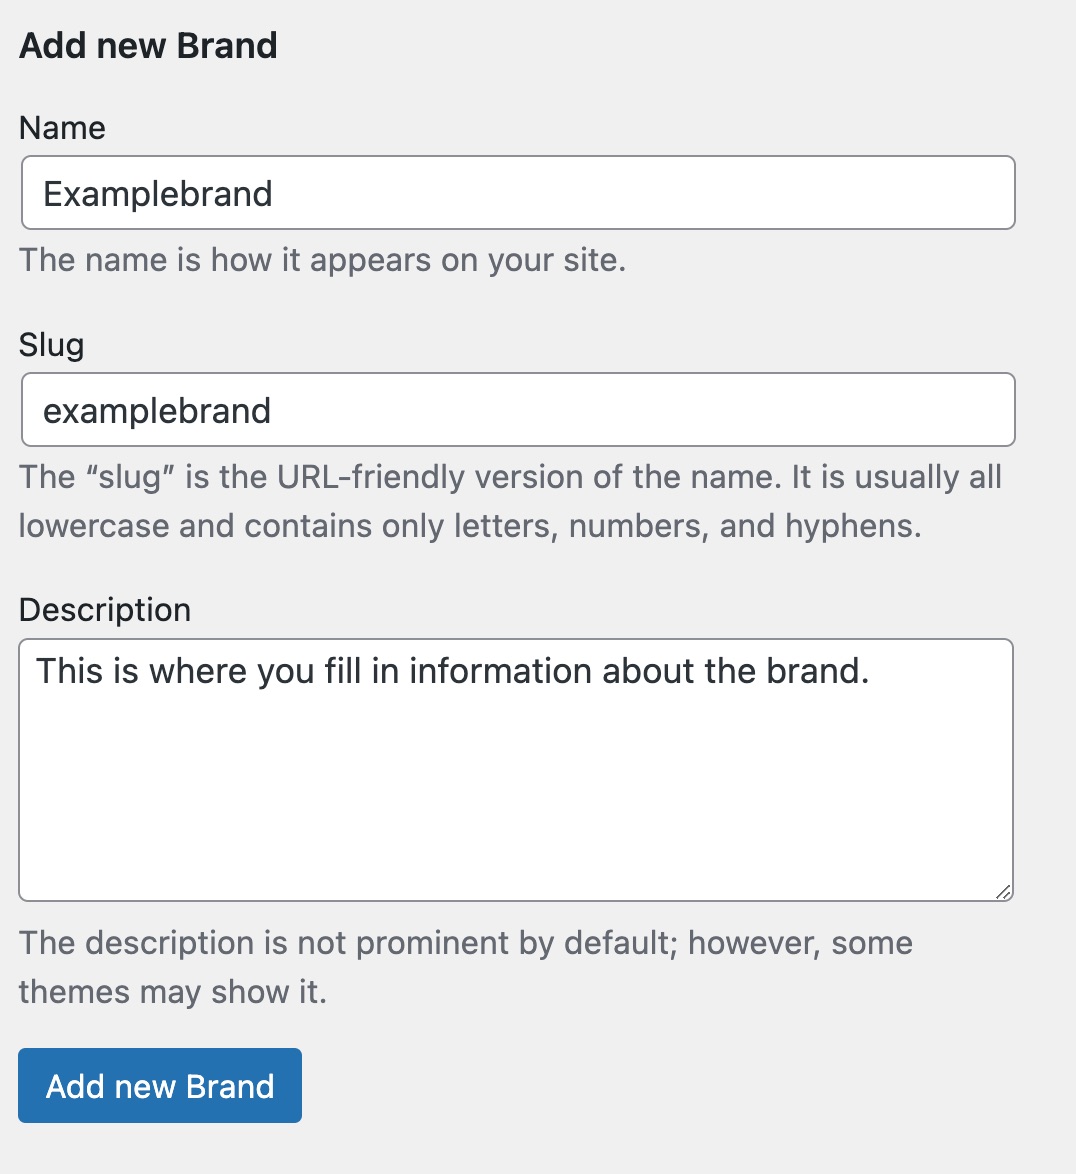
- Add the Name, Slug, Description and click Add new Brand
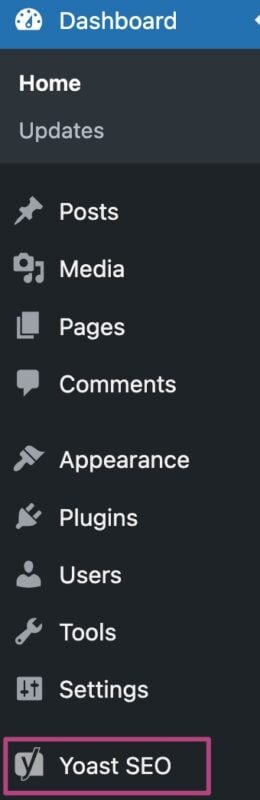
- Go to Yoast SEO
- Go to WooCommerce SEO

- Under Schema & OpenGraph additions, select the attribute
In this example, you can select Product Brand.
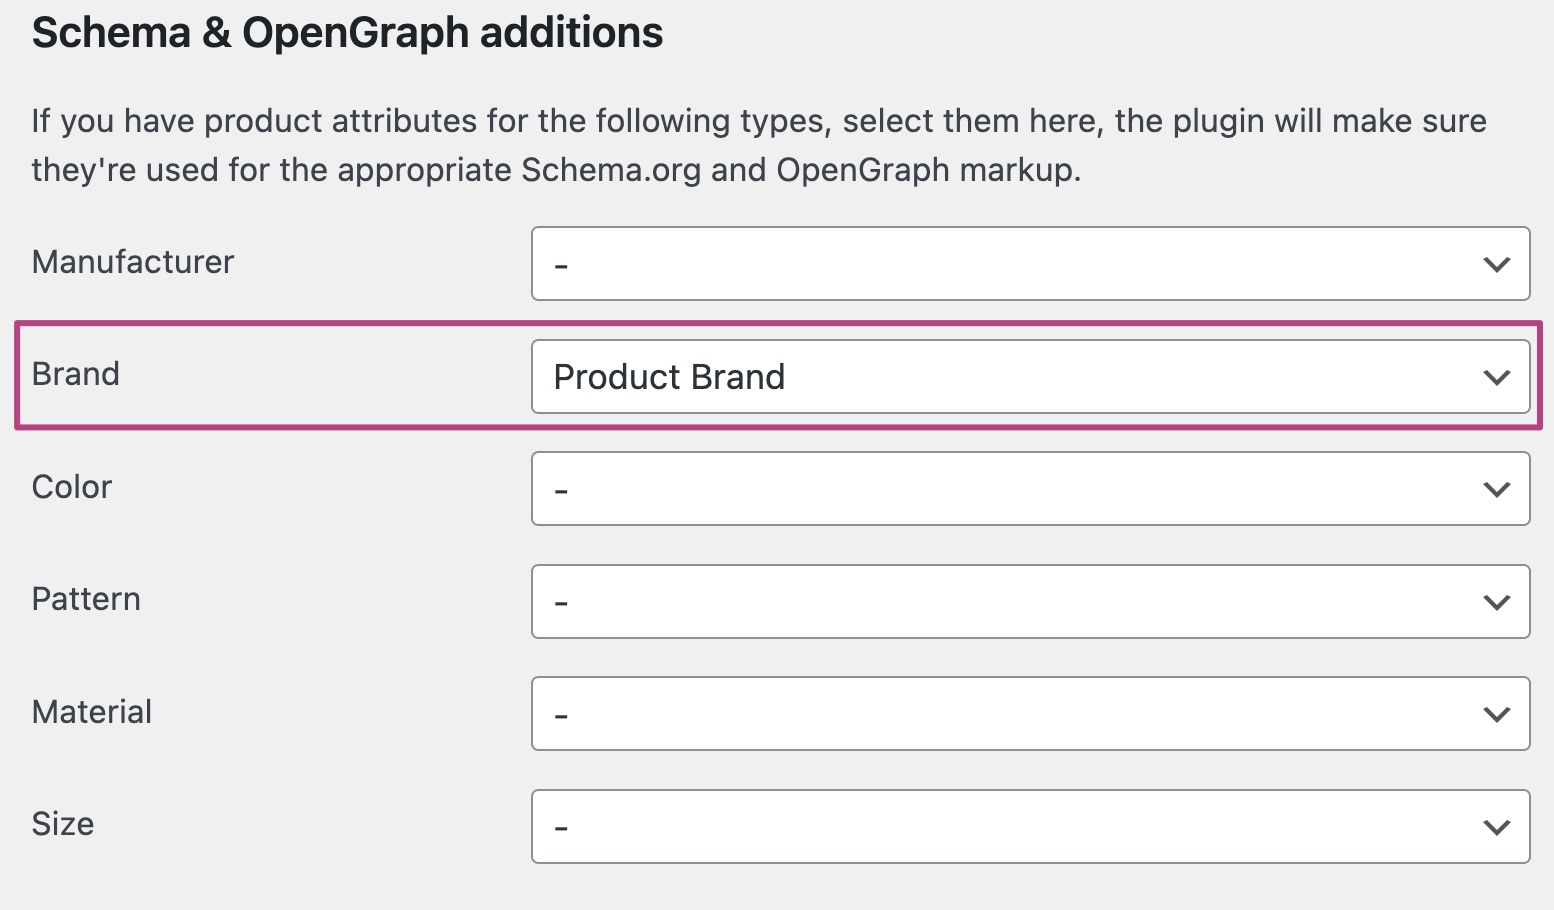
- Click Save changes

- Return to Products
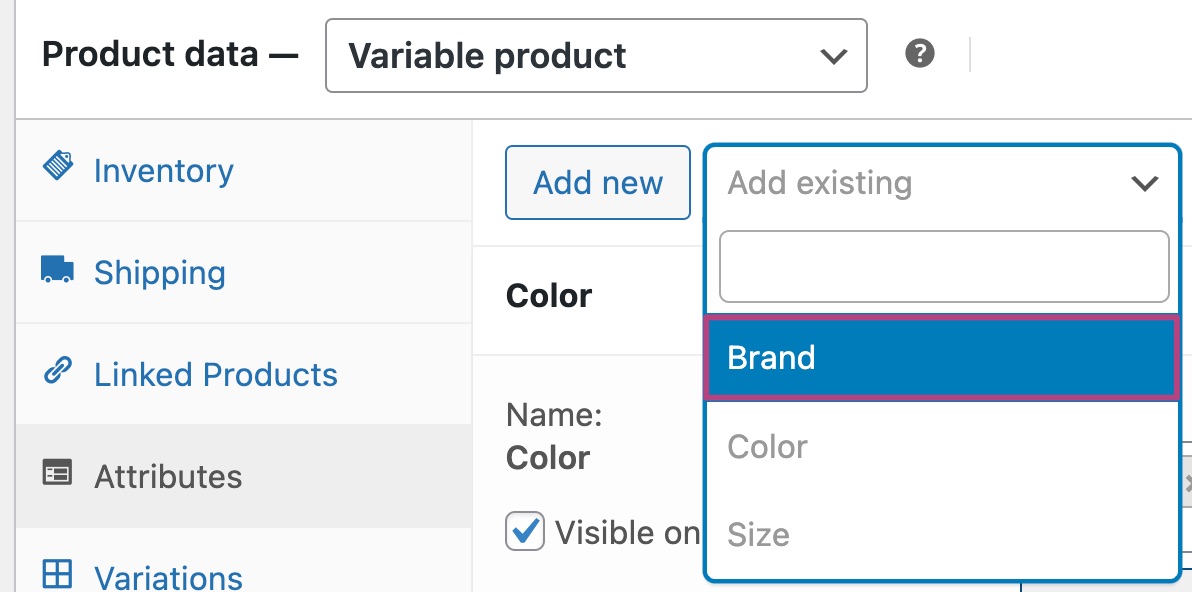
- In the Product editor Product data, open Attributes

- Select the attribute from the drop-down menu
- Select the value
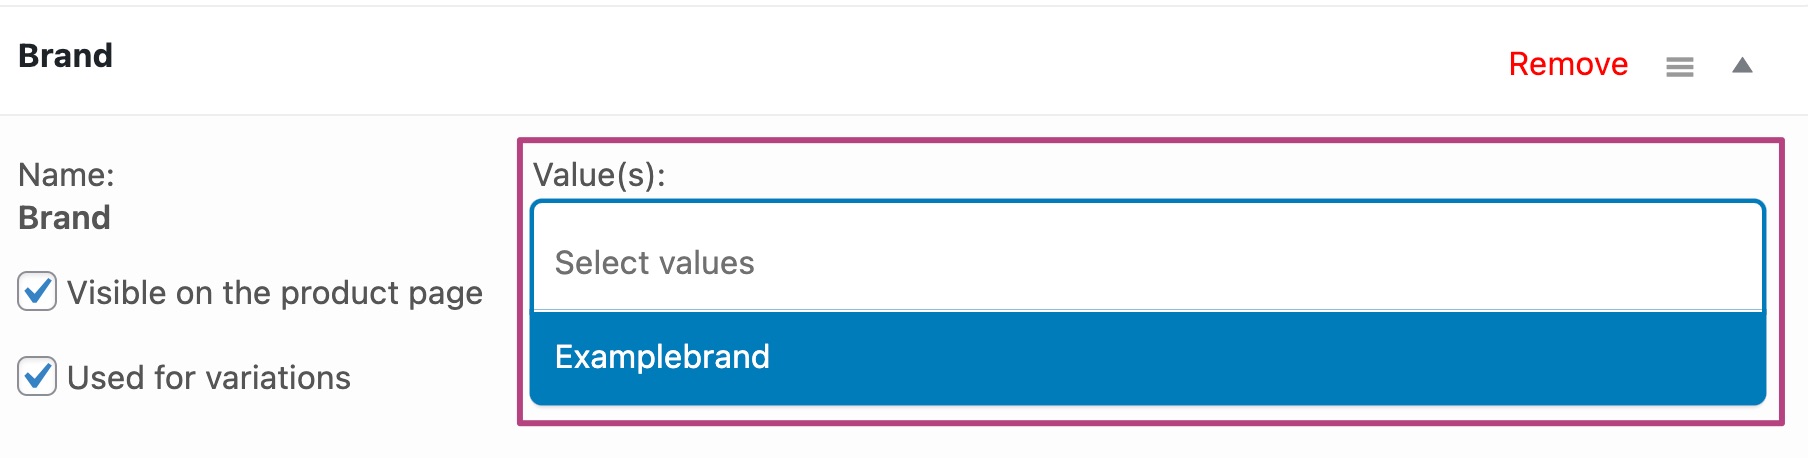
- Click Save attributes

- Publish or Update your product
The Yoast WooCommerce SEO plugin will add the
brandattribute as an OpenGraphproduct:brandtag in the source code of the product page and theproduct:brandtag for use with Pinterest.
Get Yoast WooCommerce SEO
Make your products stand out in the search results. Use AI to save time doing SEO tasks. Get extra SEO features for your WooCommerce store.
Includes Local SEO, Video SEO & News SEO.
Did this article answer your question?
Still having issues?
Try searching for your issue below