How to update the Yoast SEO plugin
After you’ve installed Yoast SEO, you want to update your plugin regularly to use all the newest features! In this article, we’ll explain several ways that you can update your Yoast SEO plugin, Yoast SEO premium, or any other Yoast product. We’ll show you how to enable the auto-update as well as different ways to manually update.
How to enable auto-updates for Yoast SEO plugins
Since WordPress version 5.5, you can enable auto-updates for all your plugins and themes. This means that your plugins will be updated when a new version has been released. Follow the steps below if you want to enable automatic updates for Yoast SEO. Please note that Yoast SEO Premium and all other add-ons such as Local, Video, News and WooCommerce rely on the settings of the free Yoast SEO plugin.
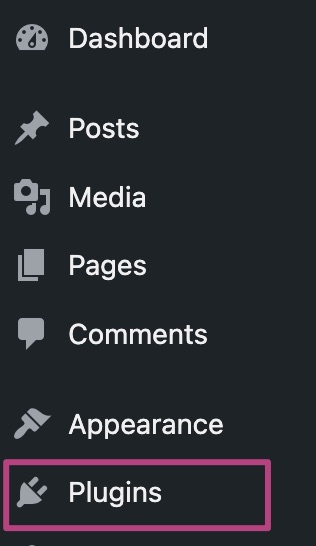
- In your WordPress Dashboard, go to Plugins
- Under Yoast SEO, click Enable auto-updates

- Your Yoast SEO plugins will now receive automatic updates
How to manually update Yoast plugins by using the Plugins overview
If you want to control when you update your Yoast SEO plugins, you can leave the auto-updates disabled and manually update all your plugins. Follow the steps below to update your plugins via the Plugins overview
- In your WordPress Dashboard, go to Plugins

- Under Bulk actions, select Update
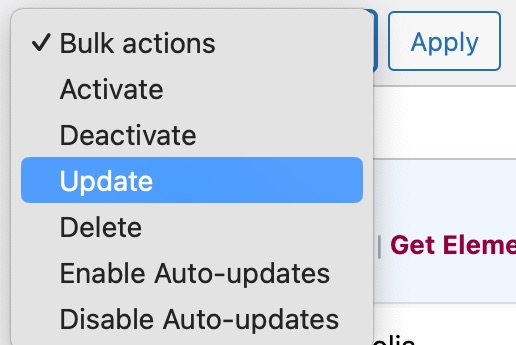
- Alternatively, select an individual plugin and click update now

How to manually update Yoast SEO plugins by using the Updates overview
If you want to control when you update your Yoast SEO plugins, you can leave the auto-updates disabled and manually update all your plugins. Follow the steps below to update your plugins, as well as themes and WordPress versions via the Updates overview
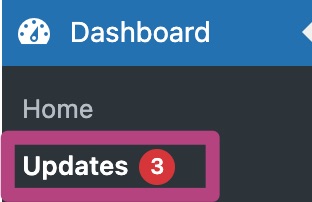
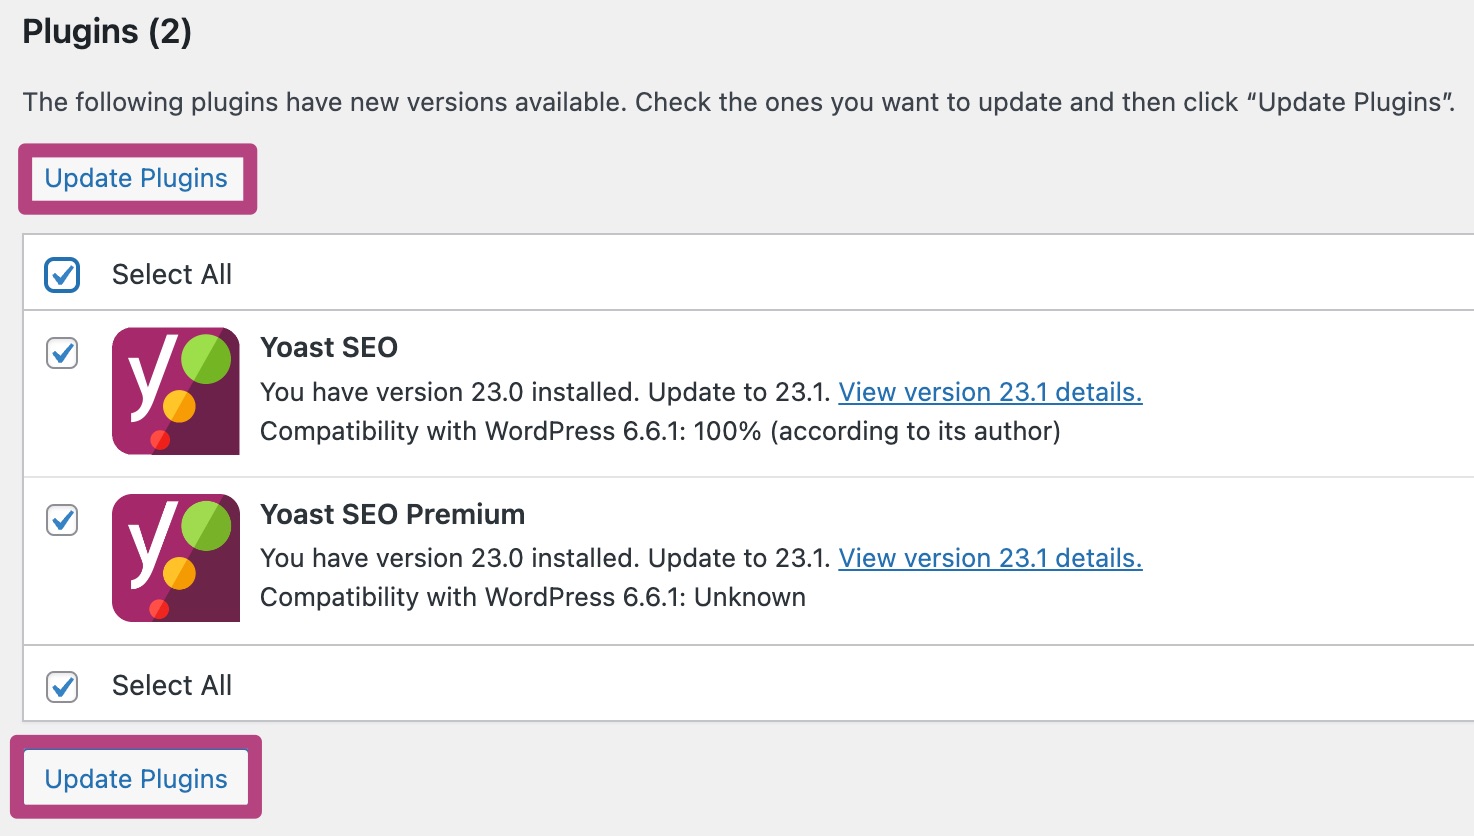
- In your WordPress Dashboard, go to Updates
- Select what versions, Plugins and Themes you want to update
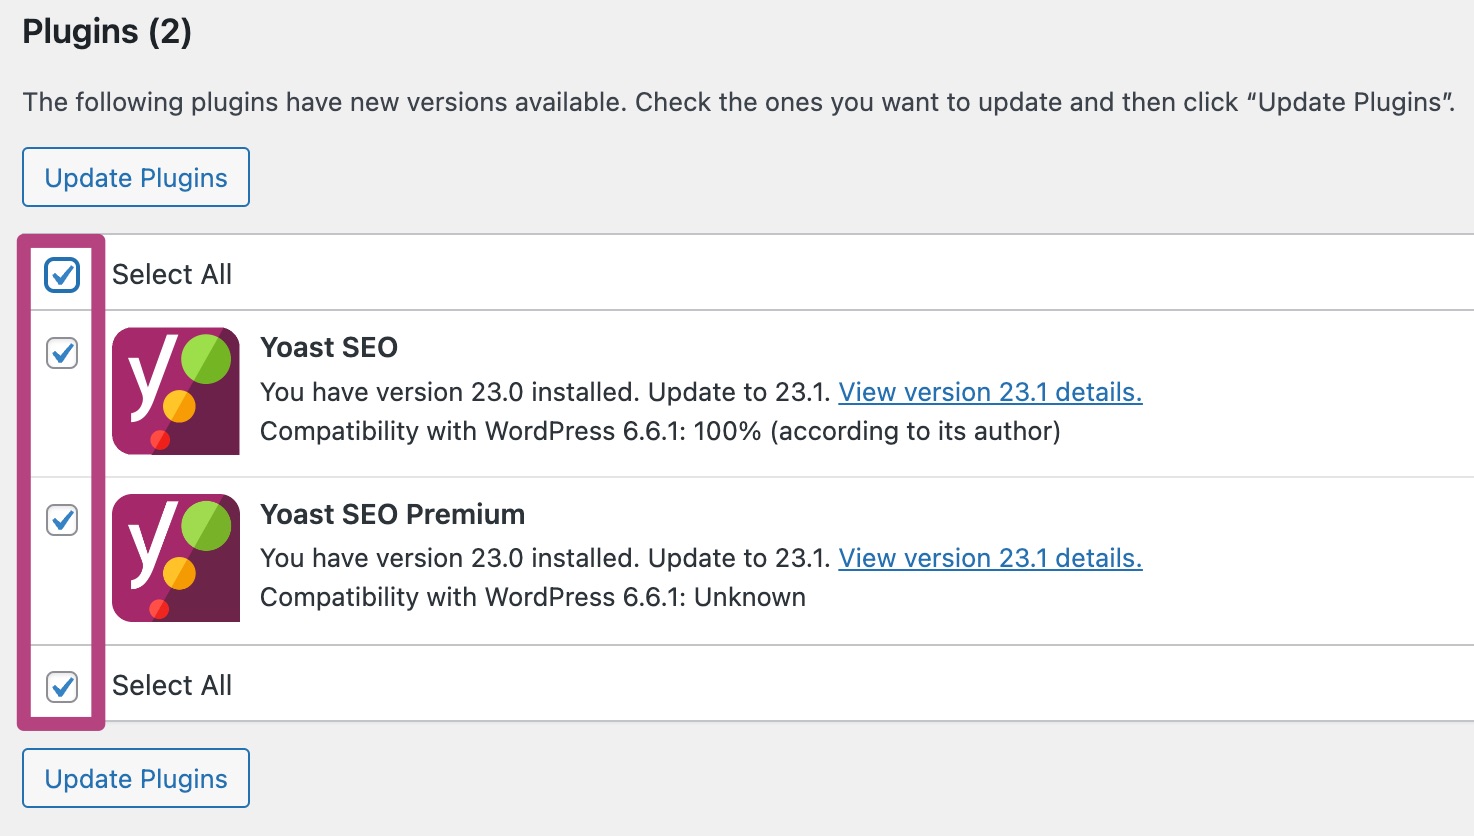
- Click Update Plugins
How to manually update Yoast SEO plugins by uploading the plugin .zips
Sometimes, updating through WordPress is temporarily unavailable. In that case, you can update your plugins by uploading them manually. Keep in mind that you cannot update the free Yoast SEO plugin this way: it is only available for Yoast SEO Premium and the WooCommerce, Local, News and Video add-ons.
- In MyYoast, go to Downloads
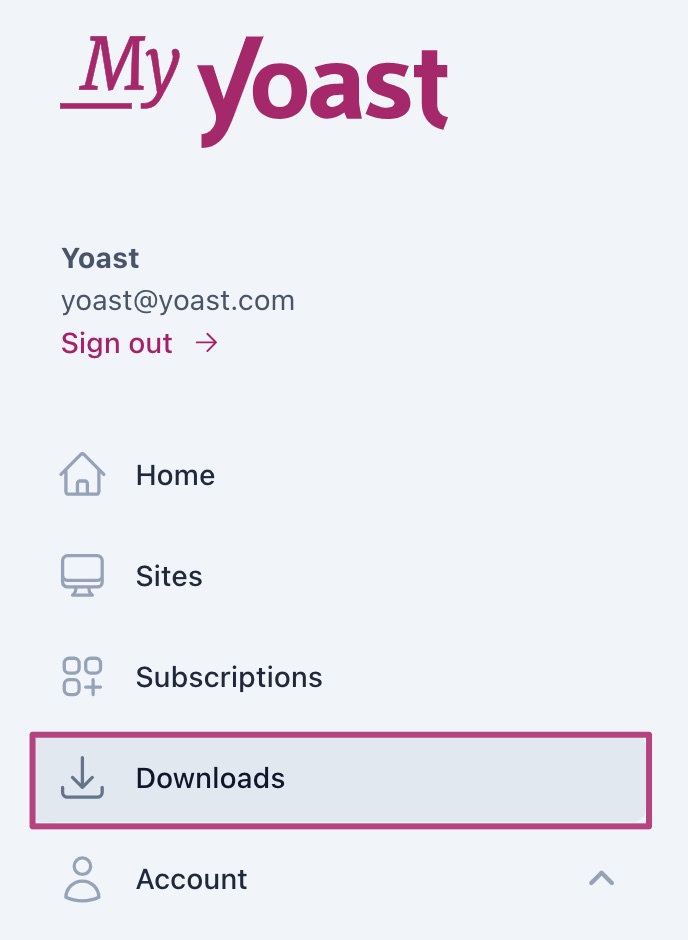
- Download your plugin
You will be able to download .zip files.
- Go to your WordPress site
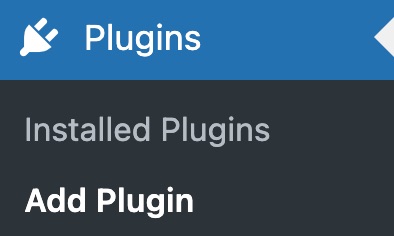
- Under Plugins, go to Add Plugin
- At the top of the screen, click Upload Plugin

- Upload the plugin and click Install Now

How to manually update Yoast SEO plugins by using FTP
This information is written for advanced users. If you are not comfortable with using FTP/SFTP please contact your hosting provide for help.
You can manually update Yoast SEO plugins by using File Transfer Protocol (FTP) or preferably the secure version, Secure File Transfer Protocol (SFTP). Your host provider may be able to help you with FTP/SFTP. You may wish to contact them first before using the steps below. Alternatively, your host provider may have some other method to help install plugins instead of using FTP/SFTP.
Requirements for the manual update
To manually update the plugin, you must have:
- Your FTP or SFTP login information
If you do not have this information, please contact your host provider and obtain your host (or IP address), Username, Password, and Port number. - An FTP or SFTP program
We use and recommend FileZilla but any FTP or SFTP program should work. - A backup of the site
Your host provider may be able to provide a backup, or check the plugin repository for a backup plugin.
Manually updating the plugin
A manual update consists of downloading, unzipping and uploading the plugin files.
- In MyYoast, go to Downloads

- Download your plugin

- Extract the downloaded .zip file
- Upload the extracted files to your plugins folder
Upload the extracted plugin folder towp-content/pluginsin your WordPress directory online. The name of the extracted plugin folder should match the existing plugin folder. - Overwrite the existing plugin-files
Overwriting your existing plugin-files will not remove your existing data or settings.
How to update the plugin on a staging or development site
To update the plugin, please add your site in your MyYoast and activate your subscription for that site. Read our switching from development server to live server article for more information.

